
Search the Guide
Search fish, recipes, bosses, maps and guides…

Beginner Guide: The First Week Without Wasted Dives
A bottleneck-based upgrade route for faster unlocks, safer dives and a profitable first restaurant week.
All Guides
Oxygen, Cargo and Depth: Plan Every Dive
Use one objective, a reserved cargo budget and a known escape route to make deeper dives safer and more productive.
All Guides
How to Catch 3-Star Fish
Match nets, tranquilizers and the Recovery Drone to fish size so valuable targets reach Bancho Sushi alive.
All Guides
Best Weapons and Upgrade Paths
Separate boss damage from live-capture work and invest in the branch that matches the next objective.
All Guides
Restaurant Profit: Menu, Auto-Supply and Dishes
Build profit around repeatable ingredients, controlled portions and a few enhanced dishes instead of a crowded menu.
All Guides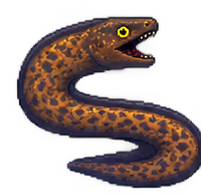
Night Diving: Unlock, Cost and Best Targets
Night diving is a targeted trade: it unlocks special species and quests but removes one-third of restaurant service time.
All Guides
In the Jungle: How to Start and What Changes
A current guide to Utara Village, the freshwater lake, Bancho Grill and the DLC systems released on June 18, 2026.
All Guides
DLC Availability: Free, Paid and Time-Limited Packs
A date-checked list of DREDGE, Godzilla, Ichiban’s Holiday and In the Jungle availability in 2026.
All Guides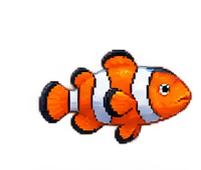
Clownfish
Clownfish location, depth and live-capture plan. Best method: Net Gun; depth: 0–50 m.
Fish Compendium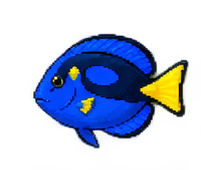
Blue Tang
Blue Tang location, depth and live-capture plan. Best method: Net Gun; depth: 0–50 m.
Fish Compendium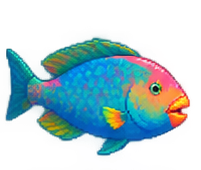
Mediterranean Parrotfish
Mediterranean Parrotfish location, depth and live-capture plan. Best method: Net or tranquilizer; depth: 0–50 m.
Fish Compendium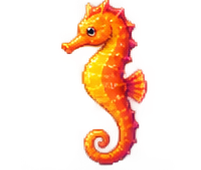
Seahorse
Seahorse location, depth and live-capture plan. Best method: Bug Net; depth: Varies.
Fish Compendium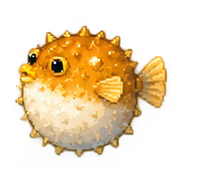
Starry Puffer
Starry Puffer location, depth and live-capture plan. Best method: Net Gun; depth: 0–50 m.
Fish Compendium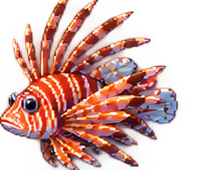
Red Lionfish
Red Lionfish location, depth and live-capture plan. Best method: Net Gun; depth: 0–50 m.
Fish CompendiumMoray Eel
Moray Eel location, depth and live-capture plan. Best method: Net Gun; depth: 0–50 m.
Fish Compendium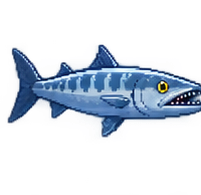
Great Barracuda
Great Barracuda location, depth and live-capture plan. Best method: Tranquilizer; depth: 50–130 m.
Fish CompendiumBluefin / Yellowfin Tuna
Bluefin / Yellowfin Tuna location, depth and live-capture plan. Best method: Steel Net Sensor Trap + drone; depth: 0–130 m.
Fish Compendium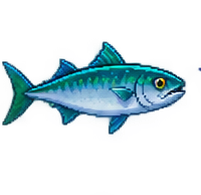
Atlantic Mackerel
Atlantic Mackerel location, depth and live-capture plan. Best method: Net Gun; depth: 50–130 m.
Fish Compendium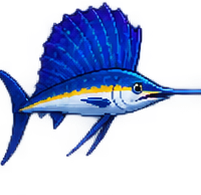
Sailfish
Sailfish location, depth and live-capture plan. Best method: Tranquilizer + drone; depth: 50–130 m.
Fish Compendium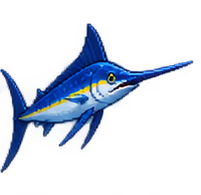
Marlin
Marlin location, depth and live-capture plan. Best method: Tranquilizer + drone; depth: 0–50 m.
Fish Compendium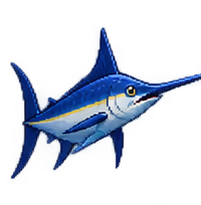
Swordfish (Illustrative)
Swordfish (Illustrative) location, depth and live-capture plan. Best method: Not a named catchable entry; depth: N/A.
Fish Compendium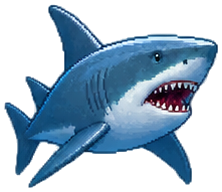
Great White Shark Klaus
Great White Shark Klaus location, depth and live-capture plan. Best method: Boss only — cannot be captured; depth: 0–50 m.
Fish Compendium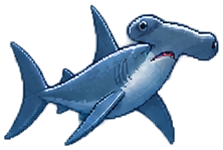
Smooth Hammerhead
Smooth Hammerhead location, depth and live-capture plan. Best method: Tranquilizer + drone; depth: 50–130 m.
Fish Compendium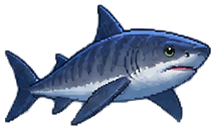
Tiger Shark
Tiger Shark location, depth and live-capture plan. Best method: Tranquilizer + drone; depth: 50–130 m.
Fish Compendium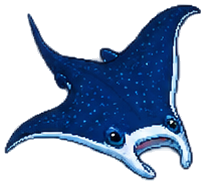
Manta Ray
Manta Ray location, depth and live-capture plan. Best method: Photo only — cannot be captured; depth: 0–50 m.
Fish Compendium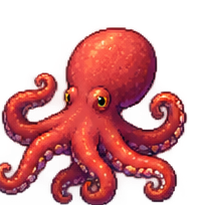
Octopus
Octopus location, depth and live-capture plan. Best method: Story or capture tool; depth: Varies.
Fish Compendium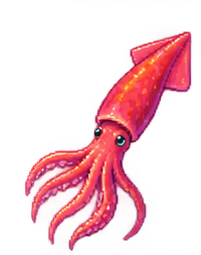
Humboldt Squid
Humboldt Squid location, depth and live-capture plan. Best method: Steel Net Gun or tranquilizer + drone; depth: 50–130 m.
Fish Compendium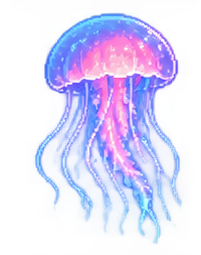
Fried Egg Jellyfish
Fried Egg Jellyfish location, depth and live-capture plan. Best method: Net or tranquilizer; depth: 0–50 m.
Fish Compendium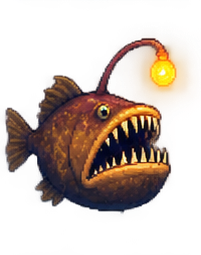
Fangtooth
Fangtooth location, depth and live-capture plan. Best method: Net Gun; depth: 130–250 m.
Fish Compendium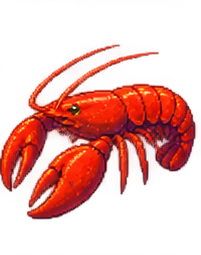
Lobster
Lobster location, depth and live-capture plan. Best method: Crab Trap; depth: Varies by species.
Fish Compendium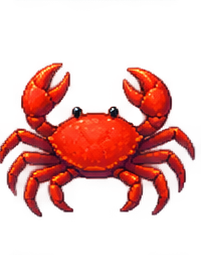
Spider Crab
Spider Crab location, depth and live-capture plan. Best method: Rock drop or capture tool; depth: 130–250 m.
Fish Compendium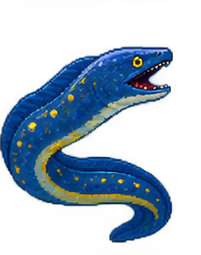
Pelican Eel
Pelican Eel location, depth and live-capture plan. Best method: Steel Net Gun or tranquilizer + drone; depth: Story zone.
Fish CompendiumStellate Puffer Nicogori
Stellate Puffer Nicogori supply guide using Starry Puffer, Agar, Soy Sauce. Plan repeatable servings and avoid closing-time waste.
Recipe Compendium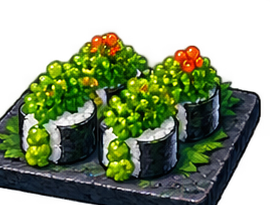
Seagrapes Jellyfish Sushi
Seagrapes Jellyfish Sushi supply guide using White Spotted Jellyfish, Sea Grape, Salt. Plan repeatable servings and avoid closing-time waste.
Recipe Compendium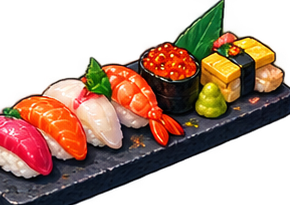
Tropical Fish Sushi Set
Tropical Fish Sushi Set supply guide using Coral Trout, Harlequin Hind, Titan Triggerfish, Rice. Plan repeatable servings and avoid closing-time waste.
Recipe Compendium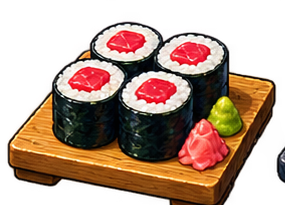
Crimson Fish Roll
Crimson Fish Roll supply guide using Clown Frogfish, Red Bream, Rhinochimaeridae. Plan repeatable servings and avoid closing-time waste.
Recipe Compendium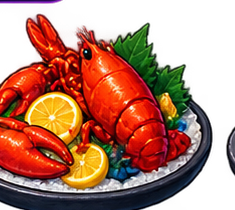
Ice Fish Curry
Ice Fish Curry supply guide using Ice Fish, Bean, Curry Block. Plan repeatable servings and avoid closing-time waste.
Recipe CompendiumYellowfin Tuna Akami Sushi
Yellowfin Tuna Akami Sushi supply guide using Yellowfin Tuna Akami. Plan repeatable servings and avoid closing-time waste.
Recipe Compendium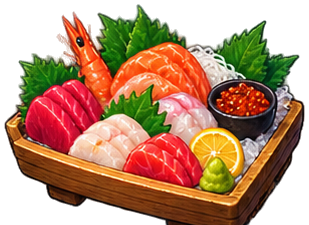
Three-Colored Squid Roast
Three-Colored Squid Roast supply guide using Peacock Squid, Vampire Squid, Cuttlefish, Salt. Plan repeatable servings and avoid closing-time waste.
Recipe CompendiumGreat Spider Crab Curry
Great Spider Crab Curry supply guide using Spider Crab, Grade A Egg, Curry Block. Plan repeatable servings and avoid closing-time waste.
Recipe Compendium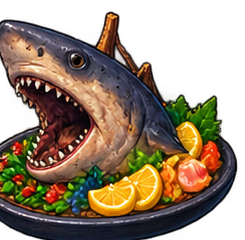
Dunkleosteus Sushi
Dunkleosteus Sushi supply guide using Dunkleosteus Meat. Plan repeatable servings and avoid closing-time waste.
Recipe CompendiumDave
Balances oxygen, cargo and objectives on every dive
Crew Directory
Bancho
Researches dishes and turns better ingredients into higher-value plates
Crew Directory
Cobra
Runs the boat shop and keeps the expedition moving
Crew Directory
Duff
Scans blueprints and crafts permanent underwater weapons
Crew Directory
Otto
Builds a renewable ingredient pipeline from quality catches
Crew Directory
Dr. Bacon
Leads the Sea People investigation and story expeditions
Crew Directory
Udo
Commissions underwater photo assignments, including rare creatures
Crew Directory
John Watson
A recurring antagonist who attacks Dave during Sea Blue encounters
Crew Directory
Maki
A story recruit with excellent kitchen potential
Crew Directory
Sato
Tracks creature cards and catch-quality milestones
Crew Directory
Tenzhin
Guides village quests and major story progress
Crew DirectoryRamo
Central to the Sea People story arc
Crew DirectoryGiant Squid
Stay outside the tentacle sweep, then punish the eye when it opens.
Boss GuideGiant Wolf Eel
Dodge vertically and attack after the eel commits to a straight rush.
Boss GuideTruck Hermit Crab
Use the arena tools and avoid standing where falling debris lands.
Boss GuideMantis Shrimp
Use the hanging object as cover, then attack when the guard drops.
Boss GuideClione Queen
Keep moving through its poison bolts and tentacle attacks, then punish the open mouth.
Boss GuideKronosaurus
Use the intended launcher and control vertical spacing during charges.
Boss GuideYawie
Watch the hazard rhythm before firing; survival matters more than rushed damage.
Boss GuideSulong
Bring the DLC loadout and treat its encounter separately from Blue Hole weapon rules.
Boss Guide